How to Create a Wordpress Website on a Virtual Server
Not so long ago, to create a personal or a corporate website, you had to hire a whole team of professionals including web-designers, developers, and system administrators, because there were no ready-to-use solutions. Today the process of website creation is almost fully automated, and current content management systems (CMS) allow creating websites in a few simple steps. In this article, we explain, how to create a personal blog or a small company’s website based on the Wordpress – one of the most popular CMS in the world.
Choice of a virtual server to host a website has obvious advantages for a developer in comparison with a shared-hosting:
- the amount of disk space is much bigger than in a usual shared hosting;
- wide range of options for setting up your own server;
- permission to launch your own commands, services, and scripts inside the server;
- possibility to fast scale up your resources.
To choose the most suitable plan, you need, first of all, to estimate an average website traffic of a new site as well as an amount of computing power necessary for software solutions like scripts, plugins, templates etc. used in a project. To choose an appropriate plan, you can use recommendations, presented on our site. The plan Hosting 1 is suitable for a personal blog with a small target audience (up to 1000 site visits a day). The plan Hosting 2 is recommended for creating a popular content-project designed for a wide range of visitors (up to 5000 visits a day). Developers of more massive and popular projects should choose from plans with higher performance.
Veesp offers to rent virtual servers with the Wordpress CMS already installed. In this article, we will show you the process of creating a new website through the example of our virtual server. Nevertheless, all information in the article can be applied to services of any other hosting provider.
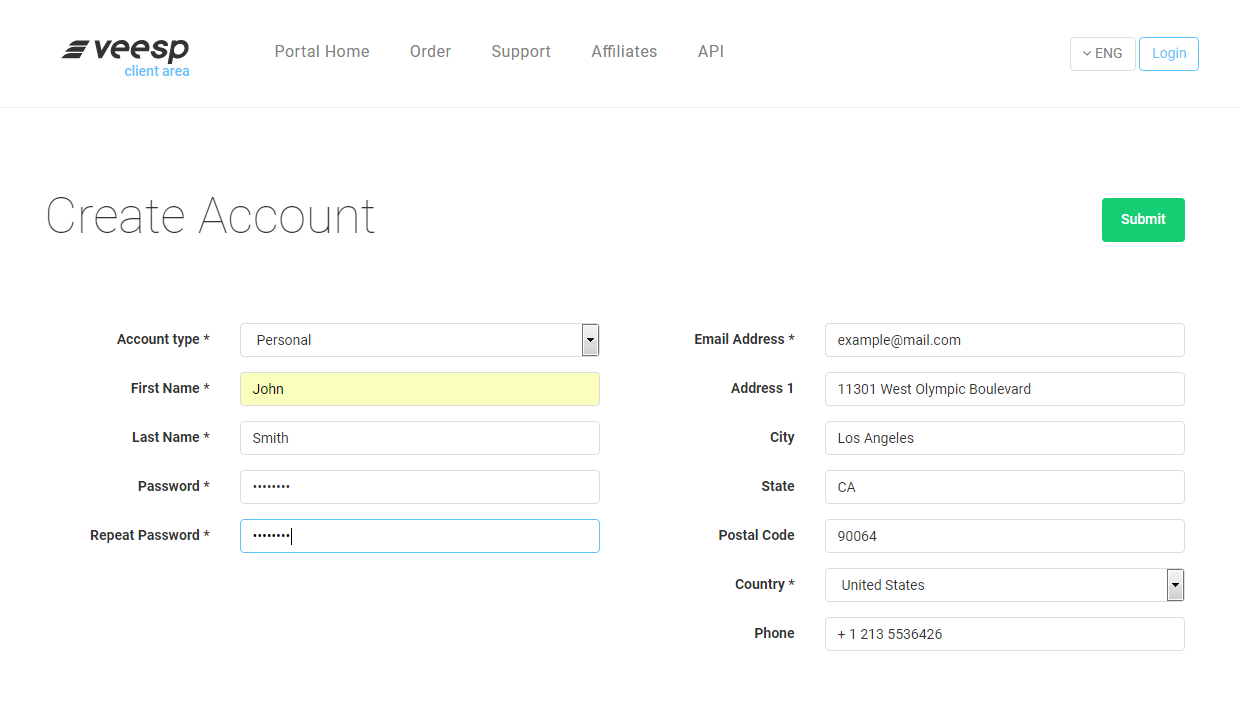
We begin with signing up on a hosting provider’s website.
After signing up, you will receive an email offering activation of a new account. Click on a given link and follow instructions on a website.
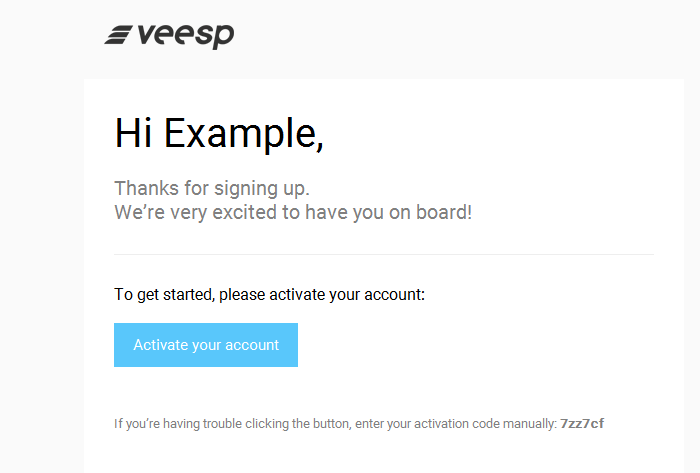
Then a service message with account details will be sent to an earlier provided e-mail address. So, your account is activated, and you can go further.
Domain Registration
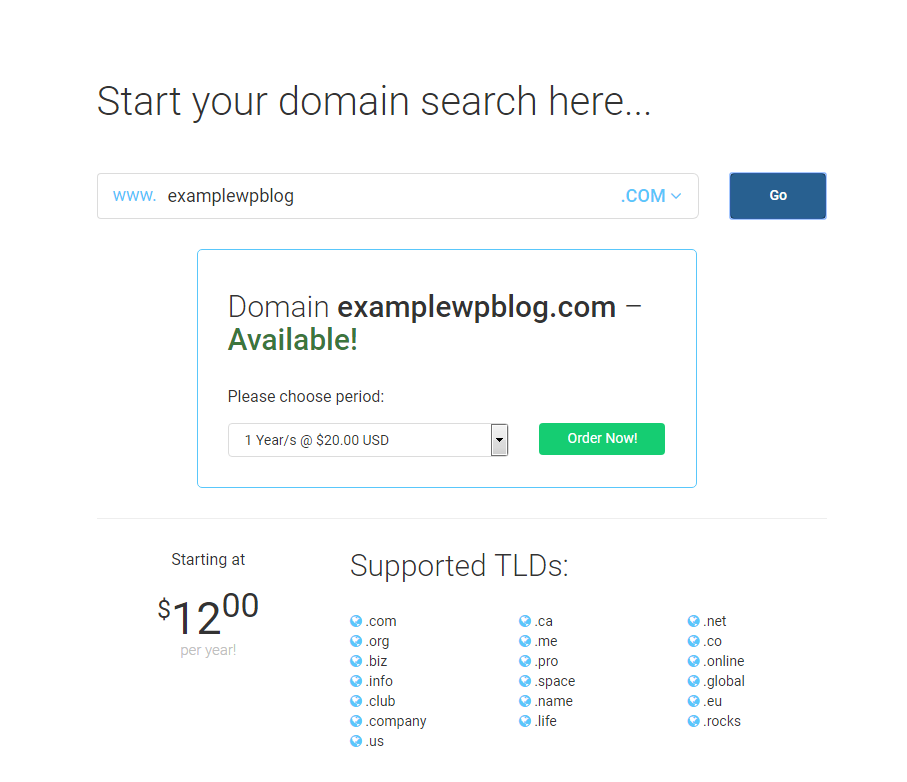
Firstly, you need to order a domain for your future website. To do this, choose Domain names in the Order menu. Then type a new domain’s name in the field for verification and further registration (we use examplewpblog.com as an example). After you find an available domain, you need to register the domain name. At this stage, it is important to correctly fill in a form with domain’s owner’s information. If you want to remain anonymous and not to provide your personal data upon WHOIS request, you need to tick WHOIS/ID Protection option.
After making a payment, your domain will be registered. Please note that a link verifying your contact information will be sent to a provided e-mail address. Make sure that you follow it and confirm your e-mail address. Otherwise, the domain will be blocked by the registrar.
Ordering a Virtual Server
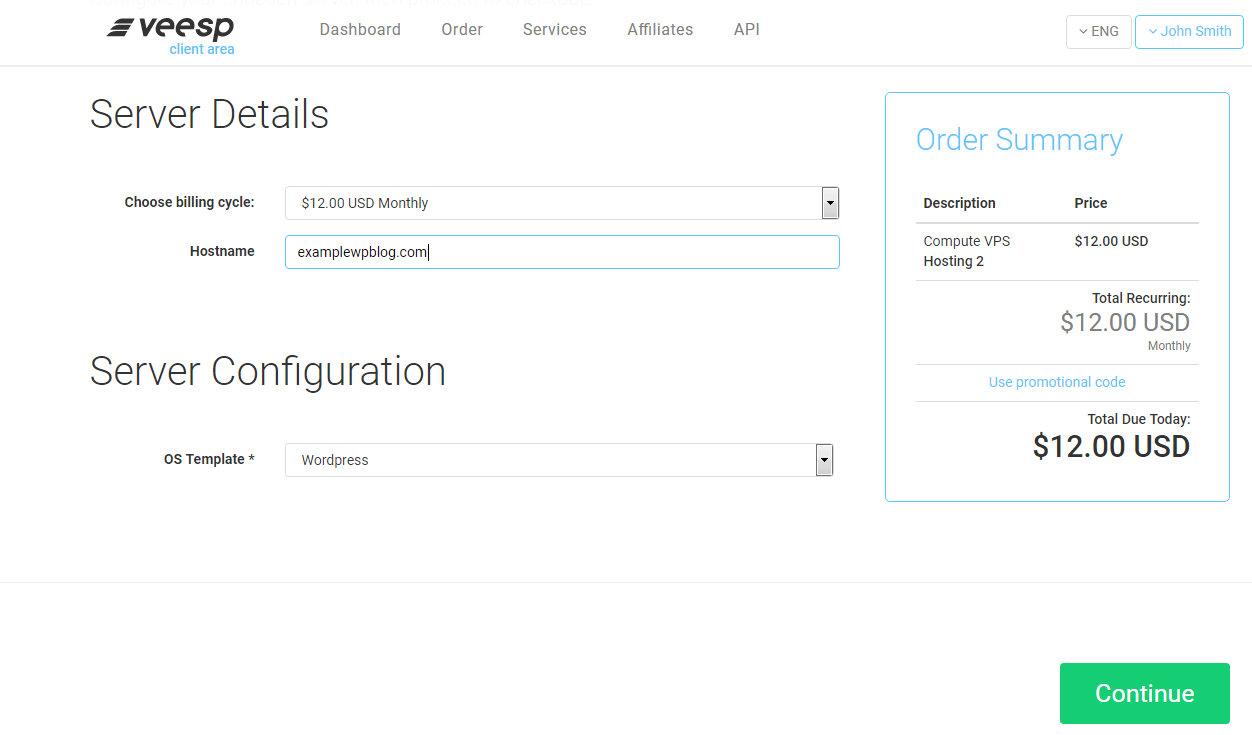
Further we need to order a virtual server. In this article, the plan Hosting 2 is used as an example. In the Order menu we choose Compute VPS and follow instructions on the site. In the Hostname field you can enter any host name, in the OS Template field choose Wordpress. After filling up all required information, click on Continue and pay the invoice with a desired payment option.
Configuring DNS Records
After activation of hosting service, we can see a status of ordered services in a client area and make necessary settings:
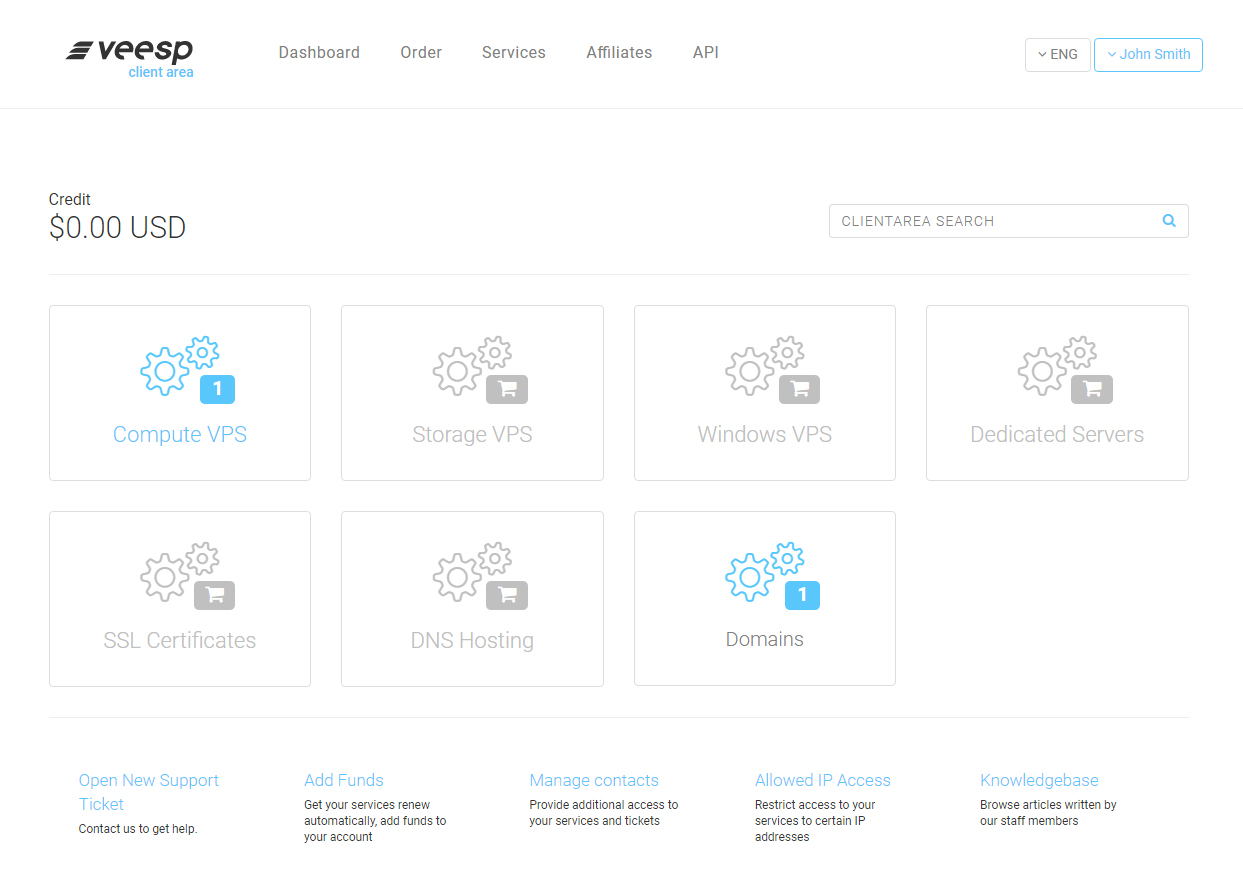
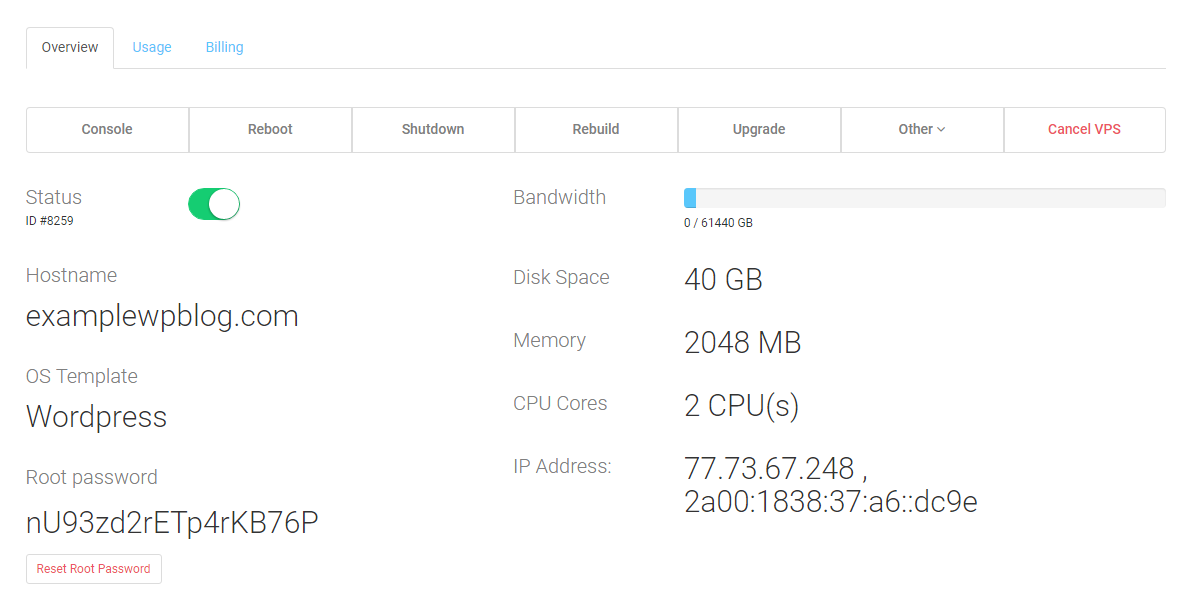
To make our domain point to the registered virtual server, you need to add DNS A-record. Open the Services menu, go to the Compute VPS section, and then from the list on the opened page choose the virtual server you have just ordered. You need to write down your server’s IP address. In our case, it is 77.73.67.248.
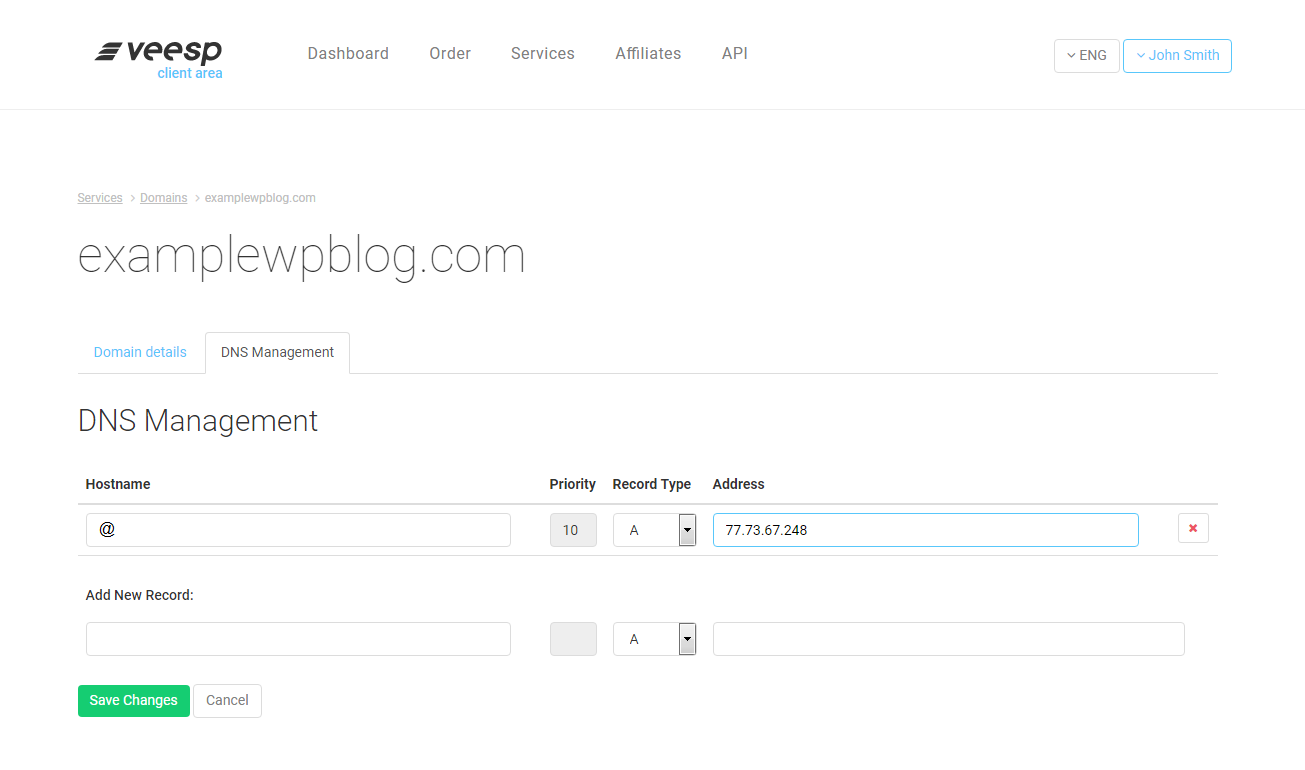
Then we open the Domains section and choose the domain earlier ordered. Further we go to the DNS Management tab and type our server’s IP address into the Addressfield. In the Record Type field, A-type must be selected, in the Hostname field we enter the @ sign. When everything is done, we save changes, and that is it. Updating of DNS information can take from a couple of minutes to a couple of hours.
Configuring Wordpress
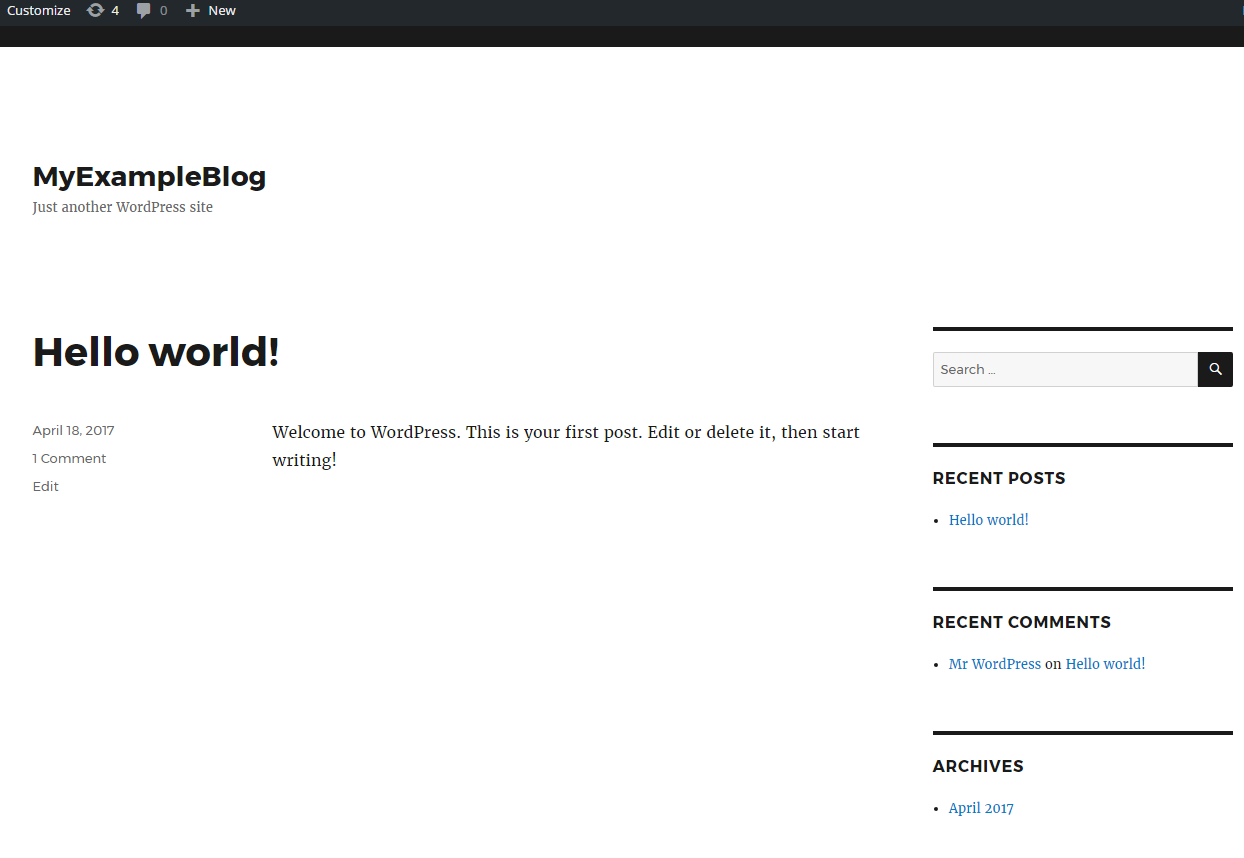
As soon as DNS records are updated, your website will be immediately available on the Internet. After that you need to visit the registered domain name’s address and complete installation of Wordpress. Installation program will ask you to set initial website configurations, i.e. to choose a website’s name, an administrator’s login and password, and to enter a valid e-mail address as well. As an example, we chose a website’s name “MyExampleBlog” and an administrator’s login “ExampleUser”. We highly recommend you to use strong passwords consisting of a big number of symbols of different cases.

That is all! Now, when you follow the registered domain’s address, you see the installed Wordpress ready to work.
The Wordpress control panel is available at http://<your domain>/wp-admin/.
Configuring FTP Client
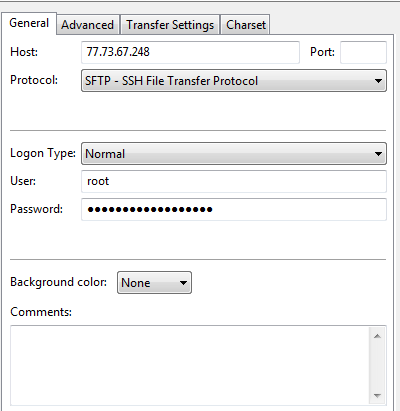
To work properly with a site, an administrator needs access to the server’s file system. So, at this stage, we configure FTP client to work with a site. All the account details necessary to configure FTP connection are in a user’s client area. Through the example of FTP client FileZilla, we will show you the process of setting SFTP configurations. In the Host field we type the server’s IP address, Port can be standardly specified as 22, for Protocol we choose SFTP, Logon Type is Normal, User is root, and the password for the root user is the same as it was specified in the control panel.
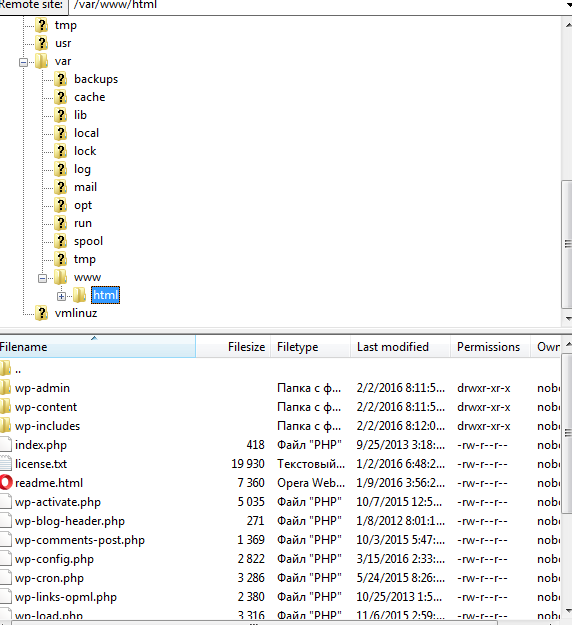
After setting configurations, we connect to our server and get access to the file system. Our website is in the /var/www/html folder.
So, the task of creating a modern website on the Wordpress on a virtual server can be completed easily and quickly. Even inexperienced users will be able to launch their own websites by following a few simple steps described in this article.


